Friday, May 18, 2012

GARDEN, VEGGIES & MORE

by Robin

It has become a daily chore as to figure out how to eat or preserve each day's worth of produce coming out of the garden.  Best problem to have in the whole wide world!  It is a huge blessing to have an abundance of food, which is what we hoped for when we created the second garden.

First, let's talk yellow squash.  We're up to 16 squash to date.  Many were frozen back with slices with my mandolin.  Several were grilled by slicing long and seasoned with olive oil, salt, pepper and Old Bay seasoning.  Yum.  And then, the other night, the kids asked for fried squash.  I haven't fried anything for them in a while.  So, here was that result. 

Photobucket


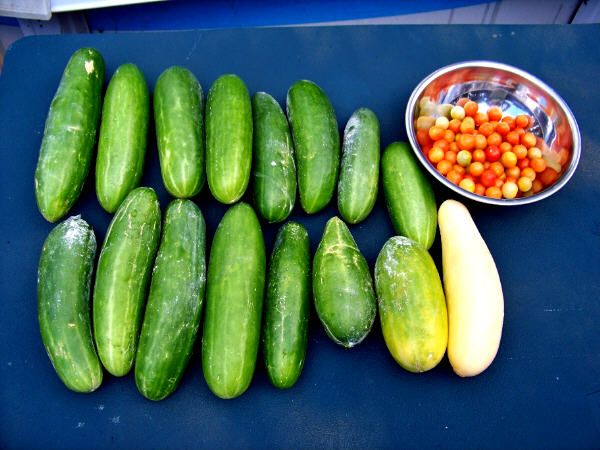
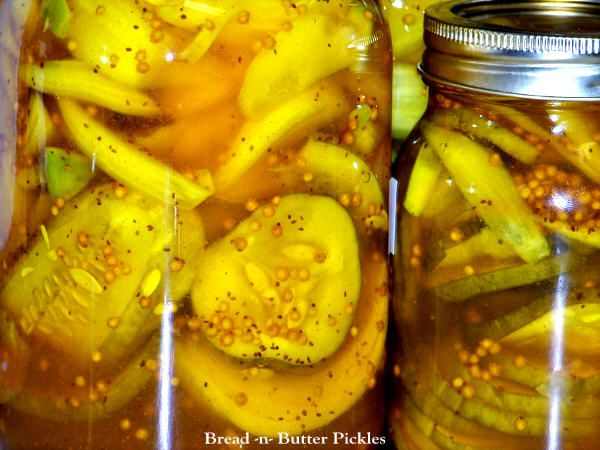
As you know from earlier posts, we picked over a dozen cucumbers one day to turn them into Bread -n- Butter pickles.  We're up at 54 cucumbers to date.  I've also jarred hot, garlic, and dill pickles.  I must say, those Bread -n- Butter pickles are the BEST.  Store versions cannot touch the depth of flavor with all the mustard & celery seeds in these.  And the onions packed in are just as sweet as the pickles.  Delicious.
Photobucket

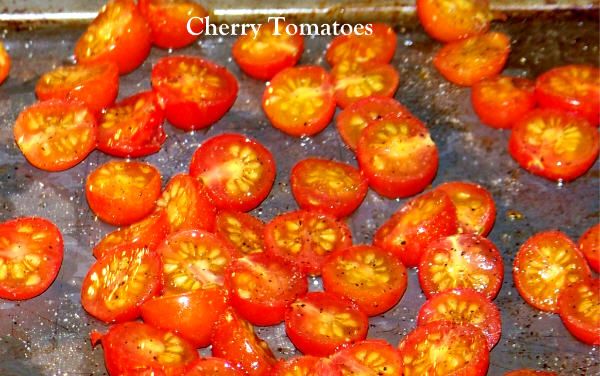
And now that I have been able to keep the dogs off the cherry tomatoes, I'm getting quite the harvest of them.  I did a little research and decided to split my batches up to experiment.  Supposedly, you can freeze these like berries and then add them to soups later.  Ok.  I also cut up a batch to put into my homemade spaghetti sauce.  Very yummy and nice addition.  And then this batch, I cut in halves, drizzle with olive oil, salt & pepper and put into the oven at 350 for nearly 2 hrs (I had to turn it off and run an errand, so it sat longer with residual heat stuck in the oven).   They look dried, much like a cranberry or raisin.  The same thing can be accomplished with a dehydrator, but I do not have that.
Photobucket

They're waiting in the frig for me to eat them.  I also suffered a mild gallbladder attack over last weekend, so those had to be put aside.  Let's skip that little memory....

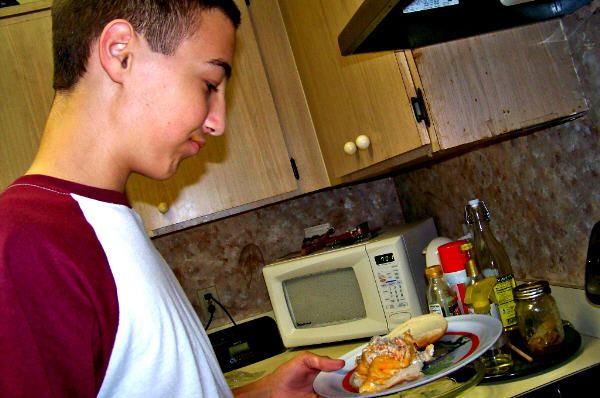
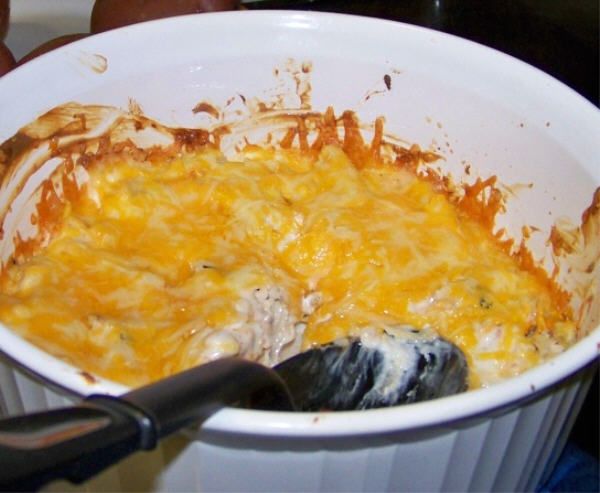
My eldest is cooking for class credit and so he was able to make the guys a Buffalo Chicken Dip which is a recipe that came from a neighbor.  It is quite easy that even a teen can do it.  One pack of cream cheese (or more) goes on the bottom of a casserole dish.  Then, use some leftover chicken, broken up in bite-size pieces, for the next layer.  Then, cover with Buffalo Sauce or Hot sauce.  Top with a good helping of shredded cheddar cheese.
Photobucket


Makes for a hearty snack for those who aren't watching their cholesterol.  LOL

Photobucket

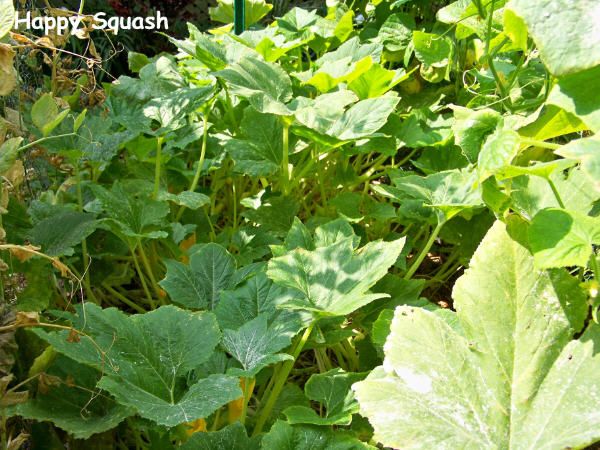
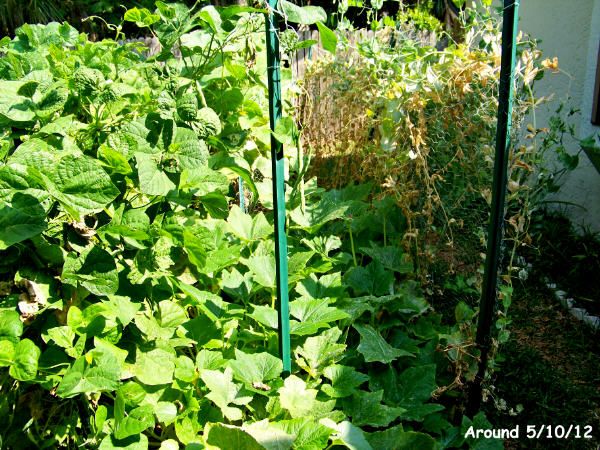
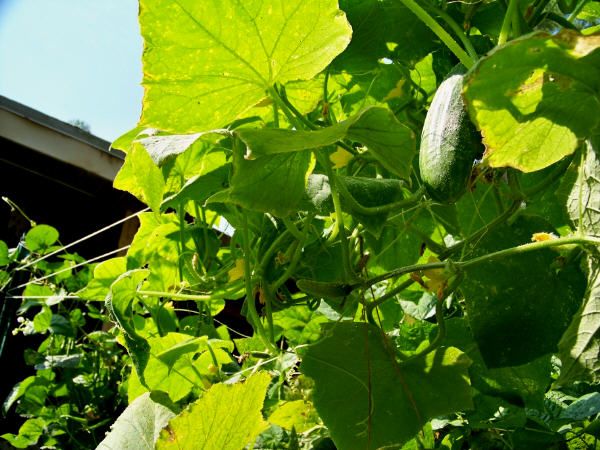
Here are a couple more garden pics.  These were taken right before Jack treated the plants with Ortho bug killer spray.  Even though it said it was safe to use on plants, it has nearly destroyed several of my crops.  I'm so sad about this.  We were trying to kill the fleas amidst the rows and now, I'm seeing what else it killed.  It didn't even touch the fleas, by the way.  AWFUL product.  Worst of all the products we used on the market.
Photobucket Photobucket Photobucket

Here is a little trick for your kale crops.... Don't pick the entire  plant when harvesting.  Only pick the largest of leaves and allow the plant to keep producing for several more week. I thought kale was a cold weather crop but it is thriving just fine in the Florida heat.  I'm shocked, really.  The worst part is the consistent care to keep the aphids under control.

Photobucket

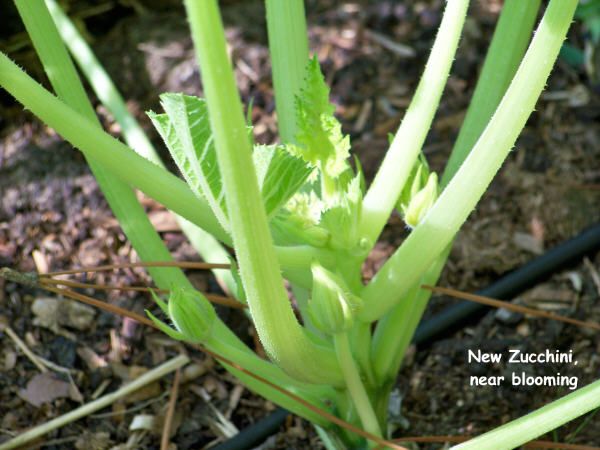
Here is my new addition to the garden.  Zucchini plants, which are now blooming.
Photobucket

Have a blessed weekend,

Robin

Wednesday, May 9, 2012

GARDEN UPDATE & MAKING PICKLES!!!

by Robin

Here are a few pics of the gardens.  This is garden #2, which is our new garden.  It was started with 100% horse manure, drip irrigation and 3 sets of trellis(es).  We live & learn.  I have 7 rows but probably should have gone with 6 or even 5 if I had know how good this was going to work out.

Photobucket

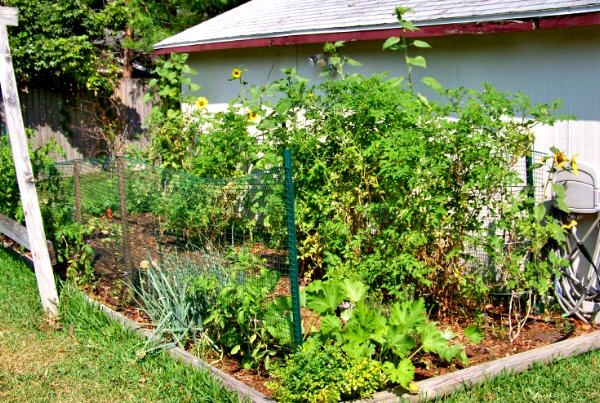
Here is my first baby, Garden #1.  We started from almost scratch in here.  Some of the tomatoes were started from seed in pots and a couple were moved from other parts of the garden and put into new areas with like-kind or closer to a drip irrigation line.  Mostly, there are various tomatoes here & sunflowers.  The zucchini were added later when I lost a lot of Black Krim tom seedlings. 

Photobucket

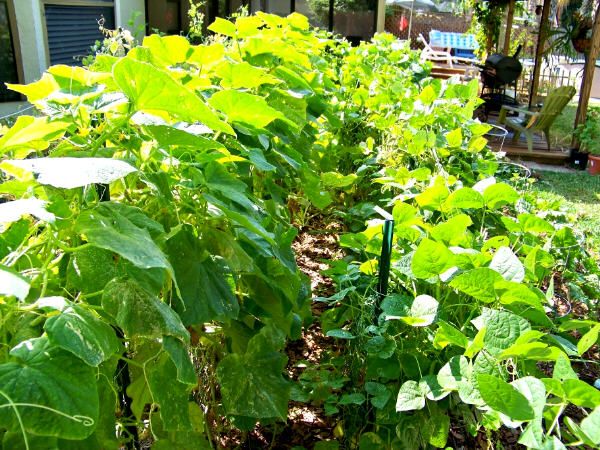
Here is the far side of Garden #2.  Left is cucumber vines and right is 2 types of bean vines.


Photobucket

Self-explanatory....

Photobucket

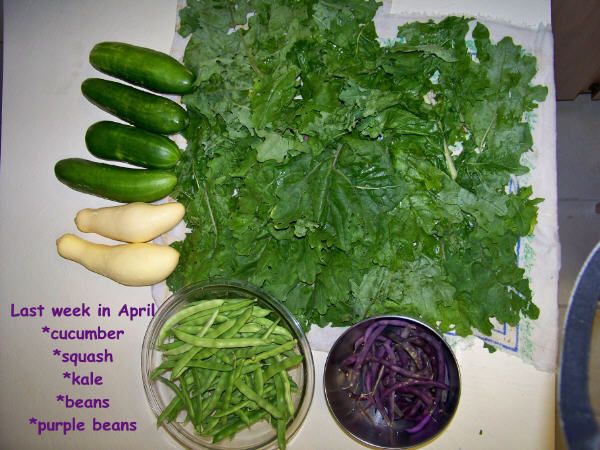
Here is yesterday's harvest.  I also harvest, over the weekend, about 2.5 gallon freezer baggies worth of beans, plus a few squash.  I have found myself working a part-time job with this awesome harvest!

Photobucket

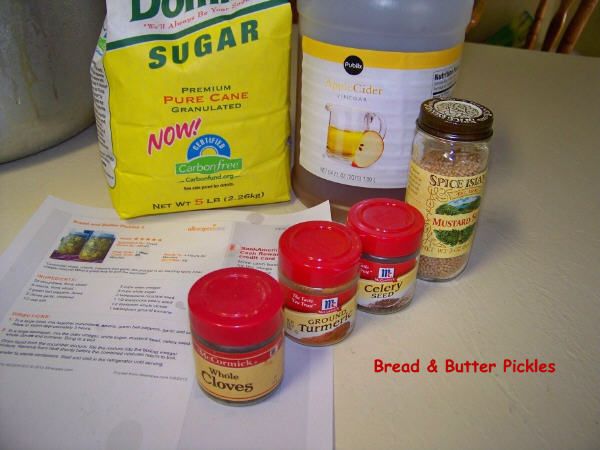
Ok, so here comes the 2nd part of my blog.  Making bread-n-butter pickles.  I've made 11 jars of dill pickles and 2 pint jars of sandwich stackers (dill), but now I want to expand my horizons with the 15 cucumbers I picked yesterday. Below is the recipe that I followed.

http://allrecipes.com/recipe/bread-and-butter-pickles-ii/Detail.aspx


Photobucket


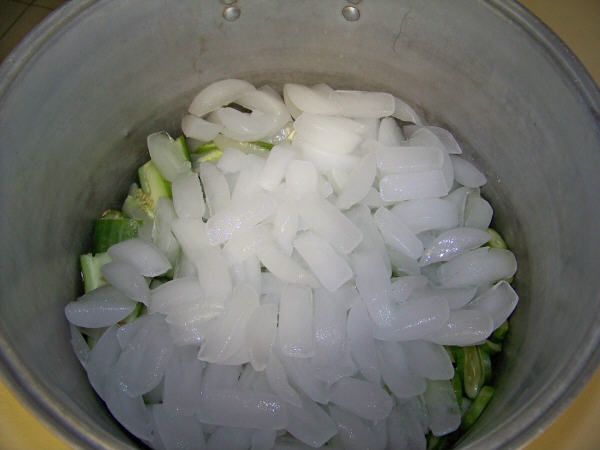
For 3 hrs, you pull the moisture out of your pickles for crispier pickles.  There are layers of onions, cukes and salt underneath that ice.  The ice keeps everything fresh.  Bell peppers were also recommended but I didn't have any on hand.  Those will be coming in a couple of weeks. 

Photobucket

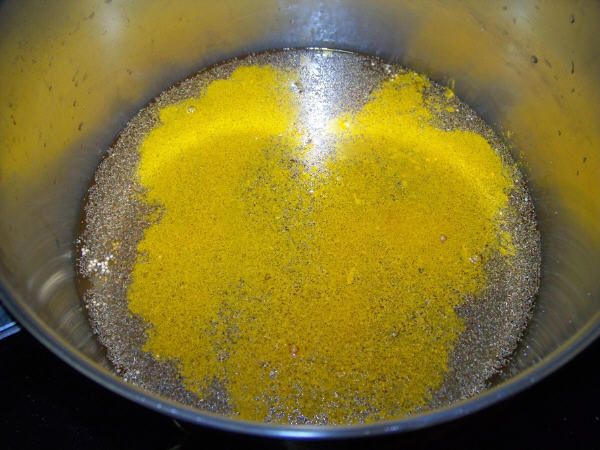
Two & a half hours later, I start with making the brine.  I followed the recommendations of others and made a double-batch but in truth, I needed a 3rd (minus the seeds) to fill the remainder jar.  Be careful of the tumeric, it stains everything!!  You will need to clorox your counters after this.

Photobucket

While the brine is beginning to boil, turn your attention back to the veggie mix.  I love reading other's reviews of recipes because that can save you a lot of heartache on a mis-step in the recipe writing.  I drained off the water that was pulled out of the cukes & onions.  Remove the ice.  RINSE THE VEGGIES 2x MORE!!  You want to get the saltiness off the vegetables.  That was not in the recipe itself but in 50% of the reviews!

Photobucket

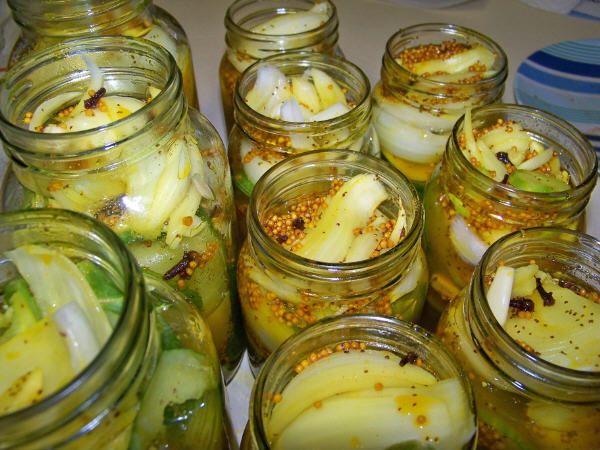
I varied a little bit from the recipe for this step too, thanks to another reviewer's notes.  I stuffed my sterilized jars FIRST, like you do with dill pickles.  THEN, I put the brine into them.  Remove air bubbles!
(This is still waiting for that last bit of brine.)

Photobucket

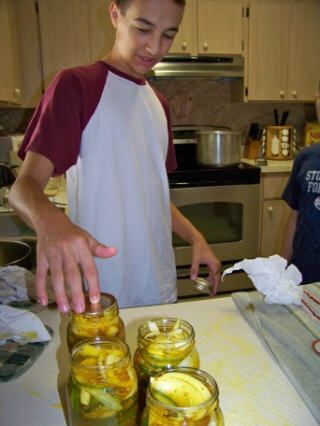
I let my kids join in with the process.  My eldest is learning how to cook for class credit so he learned a lot today. 

Photobucket

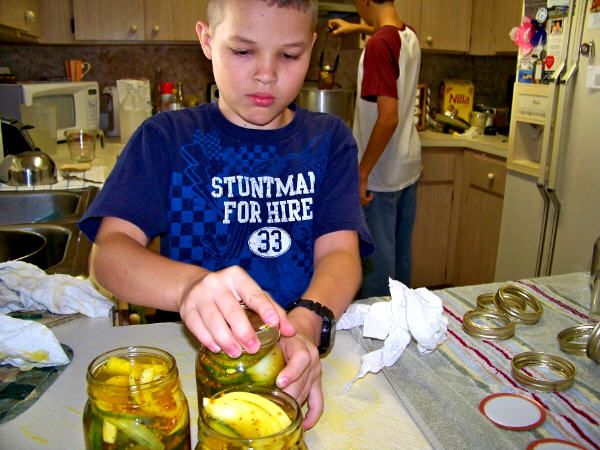
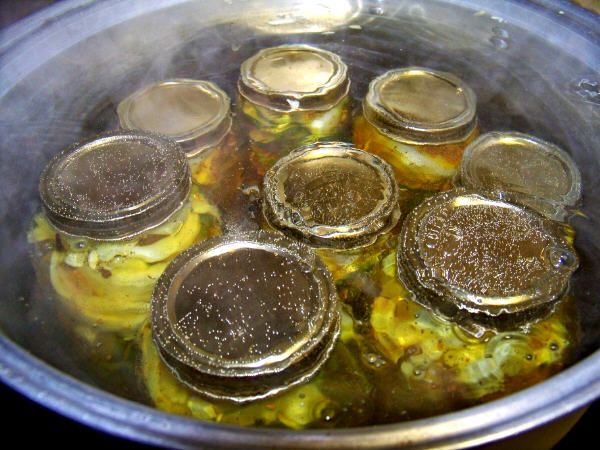
Of course, my stuntman got in on the action, while the big guy is dropping the jars into the boiler for 10-15 min.  This allows for the jars to be kept on the shelf instead of having to be refrigerated.


Photobucket


We couldn't fit all the jars in, so this was a 2-step process.


Photobucket


With this recipe, the pickles are ready to eat as soon as they cool down.  But, I will probably make my family wait a few days.  I want the spices to have a chance to soak into the flesh of the veggie mix.

God bless
Robin